
Beginner's Guide to Personal Climbing Kit
So you finally have a weekend to join your friends on a trip to Rumney and you’re excited to climb outside for the first time. All that time learning to climb in the gym has prepared you for the physical aspects of the upcoming climbs, but not necessarily the personal gear you need to send the transition from gym to crag. Here’s my recommendation for a streamlined and highly versatile kit.
The Non-Climbing Gear
No one likes to climb hungry or thirsty, so food, water, and a means to carry everything around the crag are a must. A favorite pack of mine is the Black Diamond crag.
A headlamp is another good idea to have in your climbing kit. Even something small, like a Petzl eLite stuffed into the pocket of your chalk bag will provide plenty of light to get you back to the car when you end up doing “just one more climb” before it gets dark.
A personal first aid kit is another critical item. Intended to handle small scrapes and joint twinges, I recommend a small ziplock containing the following:
Roll of half-inch climbers tape
Assortment of bandaids
Advil packet
Tylenol packet
Benadryl packet
Hydration powder packet
Compressed gauze or a roll of gauze and a couple of large pads
Add your personal medications, inhaler, or epi-pen if you have a prescription.
The Climbing Gear
The Basics. You likely already have your own a normal gym climbing kit—harness, shoes, and chalk bag. If not now is a great time to try some out and get your own that fits you right. You’ll be glad you have something comfortable and the right size every time. One nice feature to look for on a chalk bag is a small zippered pocket, which is a great place for your headlamp so you always have it when you go out.
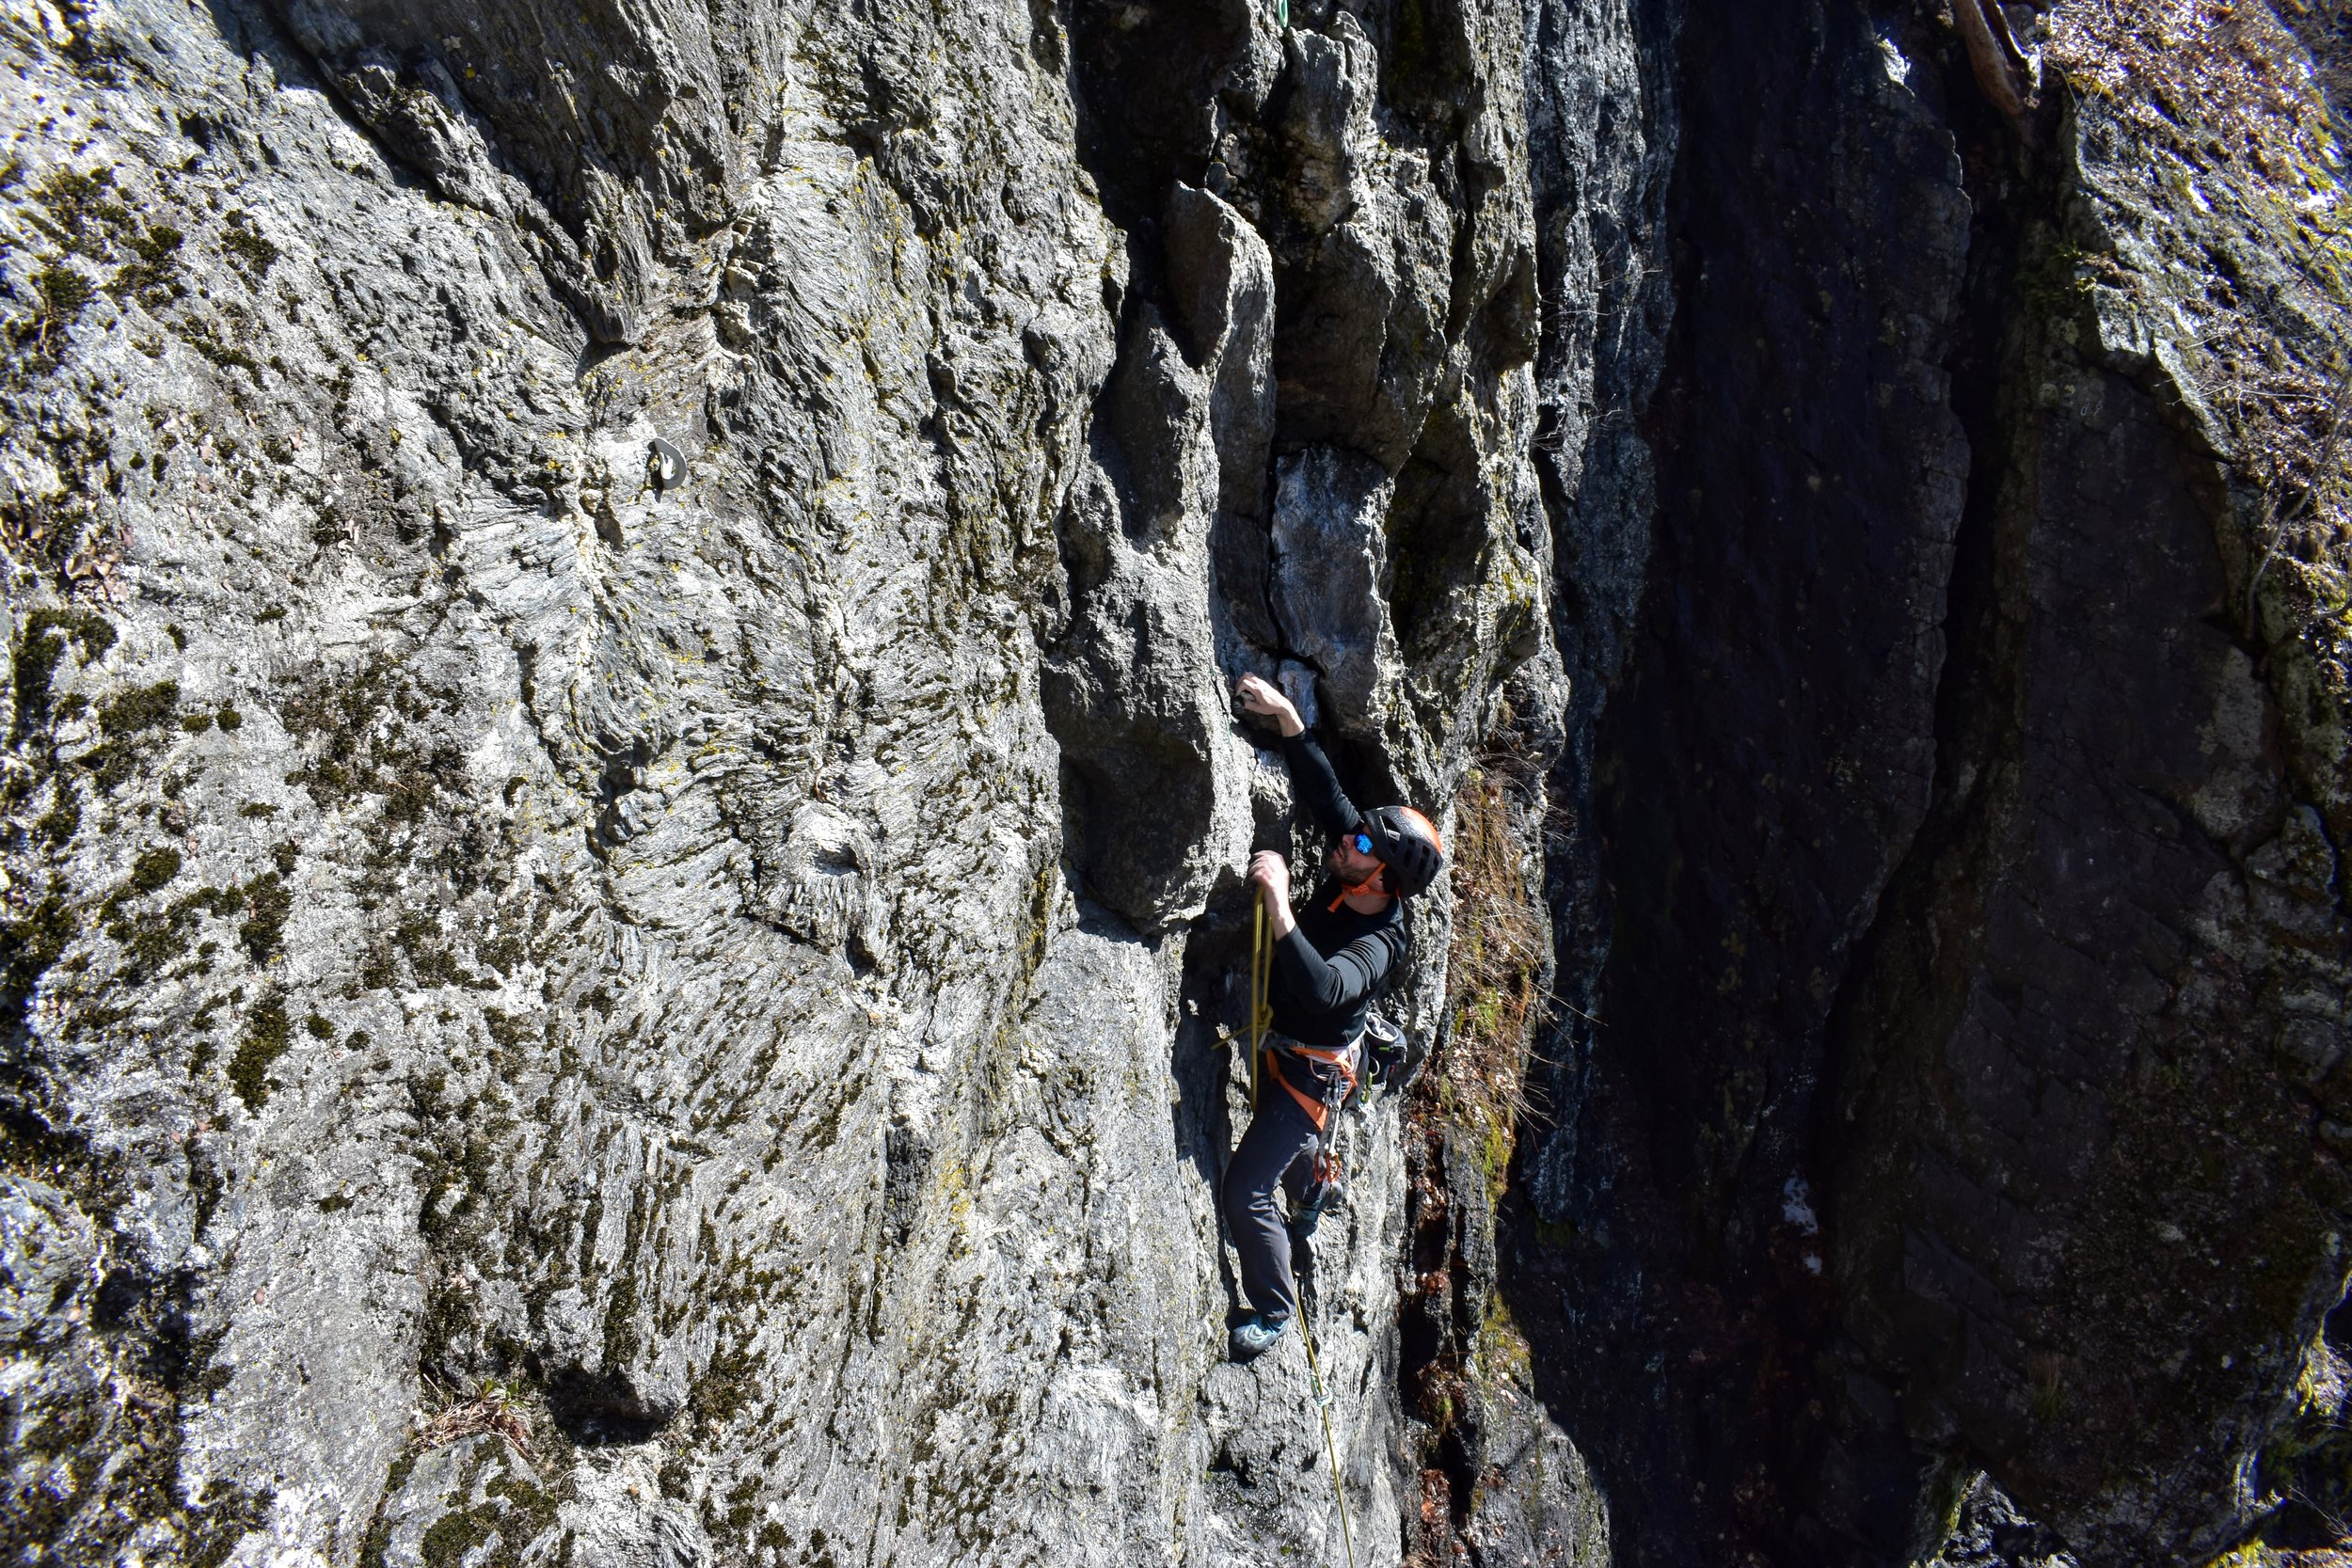
Helmet. This really is essential when climbing outside. The biggest danger while climbing outside is objects falling from above. Occasionally holds break, loose rocks fall, and gear gets dropped. Even a quickdraw dropped from 100 feet up is a huge hazard. So everyone should wear a helmet designed for climbing. They are designed specifically for these hazards. Most helmets are light, which helps reduce fatigue when wearing it or carrying it up to the start of the climb. A Petzl Meteor is a good compromise between cost and weight, however, cheaper options exist but they tend to be heavier.
Lockers. You will quickly realize how many things will require a locking carabiner when climbing outside. Three standard pear shape, also known as HMS, carabiners are essential for many tasks. These are your personal carabiners, and if you’re bringing the carabiners for a toprope anchor those would be in addition to your personal 3. The Petzl attache is a great all-around carabiner. As explained below, your three lockers will end up paired up with some of the next items on the list.
A Non-Locker. You should also pick up a regular nonlocking carabiner as a utility item. You will find many uses for it, like clipping your shoes to the outside of your pack. The Camp Nano 22 works great as a general utility carabiner and is light enough you won’t notice it.
Rap Gear. If you're starting out at someplace like Rumney that might require rappelling to clean the setup, you’ll want to have a 120cm nylon sewn sling and a Sterling Hollowblock in your kit. The nylon sling will be used to extend your belay device while rappelling so you can setup a backup using the hollowblock or prusik loop. As you progress in your climbing you will also find that these are essential items in a self-rescue kit. Rack the hollowblock and sewn runner together on one of the locking carabiners. A clean way to do this is to take the runner and fold it in half, put a finger from each hand in either end and spin it around. Store the hollowblock by tying a loose overhand knot in the center and clipping both sides on a locking carabiners. Store the locker with your rap kit on one of the rear gear loops on your harness so that when you clean a pitch you don’t forget it.
Belay Device. There is a good chance that if you have been climbing in the gym for a while you will already have one. However, not all devices are appropriate when you might have to rappel off of a route to clean it. The critical feature your device should have is that it can be set up with two ropes, like the Black Diamond ATC Guide and the Petzl Reverso. If you are getting your first device or need to upgrade because you have a single rope device then the Guide or Reverso is a great way to go. It will be more versatile in the long run when you start learning self-rescue and multi-pitch climbing. Rack your belay device on one of the 3 locking carabiners and store it on a rear gear loop.
Personal Tether. To round out your sport climbing kit, you’ll want to get a personal tether for protection while you clean anchors. While there are techniques to use the double-length sling to extend your rappel and act as a tether your life will be much easier with a dedicated tether, especially at the beginning. Right now there are two major styles to consider, one is a chain of sewn rings like the Metolius PAS, and the other is the Petzl Connect style with an adjustable bit of rope. The PAS has the advantage of being very compact and can be used to extend your rappel as well as act as an anchor, while the Connect, which I love, is way easier to get adjusted comfortably. Rack the tether on your third locking carabiner.
While this might seem like a ton of gear when you are getting started it sets you up to be more successful at the technical aspect of climbing—an often ignored aspect on the transition from the gym to crag. If you become skilled in using this basic kit in various situations and always have it racked on your harness you will be well on your way to becoming a skilled outdoor climber.
By: Scott Powers. If you found Scott’s post useful, consider sending him a few bucks. (Venmo: @scott-powers-0)


