Route Profile: Buttress No. 1, Boott Spur, Mt. Washington

There’s a surprising number of alpine routes on the Boott Spur Buttress on Mt. Washington. Some are primarily snow climbs, like Cathedral, Stovepipe, Dodge’s, and Hillman’s. Others, such as Summer Chimney and Autumn Arete, are rock routes that ascend one of the three rock buttresses (the aptly named Buttresses No. 1, No. 2, and No. 3) that guard Boott Spur’s upper reaches.
While Scott and I had previously rock climbed Summer Chimney on Buttress No. 1 a few summers back, we wanted to experience the terrain in true alpine conditions. So last spring, while there was still snow coverage in the higher elevations, we revisited Buttress No. 1, climbing a combination of routes before topping out just below Boott Spur’s summit. Our route up Buttress No. 1 began with almost 1,000 feet of moderate snow climbing, followed by several pitches of ice and rock climbing. We had an excellent day out and recommend this and other routes on the Buttresses.
The Approach
The approach to the start of the snow climbing up the Boott Spur Buttresses is straightforward—from Pinkham Notch, hike up the Tuckerman Ravine Trail to Hermit Lake. In low snow conditions, expect the trail to be icy; microspikes can be quite useful on this portion of the ascent.
The approach is two-plus miles, with about 1,800 feet of elevation gain. Depending on the speed of your party and the size of your packs (more on that below) expect it to take between one and two hours.
The Snow Climbing
From Hermit Lake, scoot over to the Sherburne Ski Trail and begin following it uphill towards the runout of Hillman's Highway. After donning crampons, pulling out your ice axe, and making sure your avalanche beacon is on, ascend part way up Hillman’s until you reach a smaller, steeper gulley that branches left. Follow the steeper gully (Dodges) uphill.
Since following Dodges all the way to the top will bring you between Buttresses No. 2 and No. 3, those wanting to climb Buttress No. 1 need to start looking for a way to escape out of Dodges to climber’s left. About halfway up Dodges, look for an open snow path that runs out left, over the brushy lower section of the spine of Buttress No. 2.
Once you’re over the spine (and be warned, it is a bit of a thrash), look for the obvious gully (Cathedral, I think) that runs between Buttresses No. 1 and No. 2. Follow this gully a short way, branching off left again on an unnamed gully that will take you towards the base of Buttress No. 1.
The Mixed Climbing
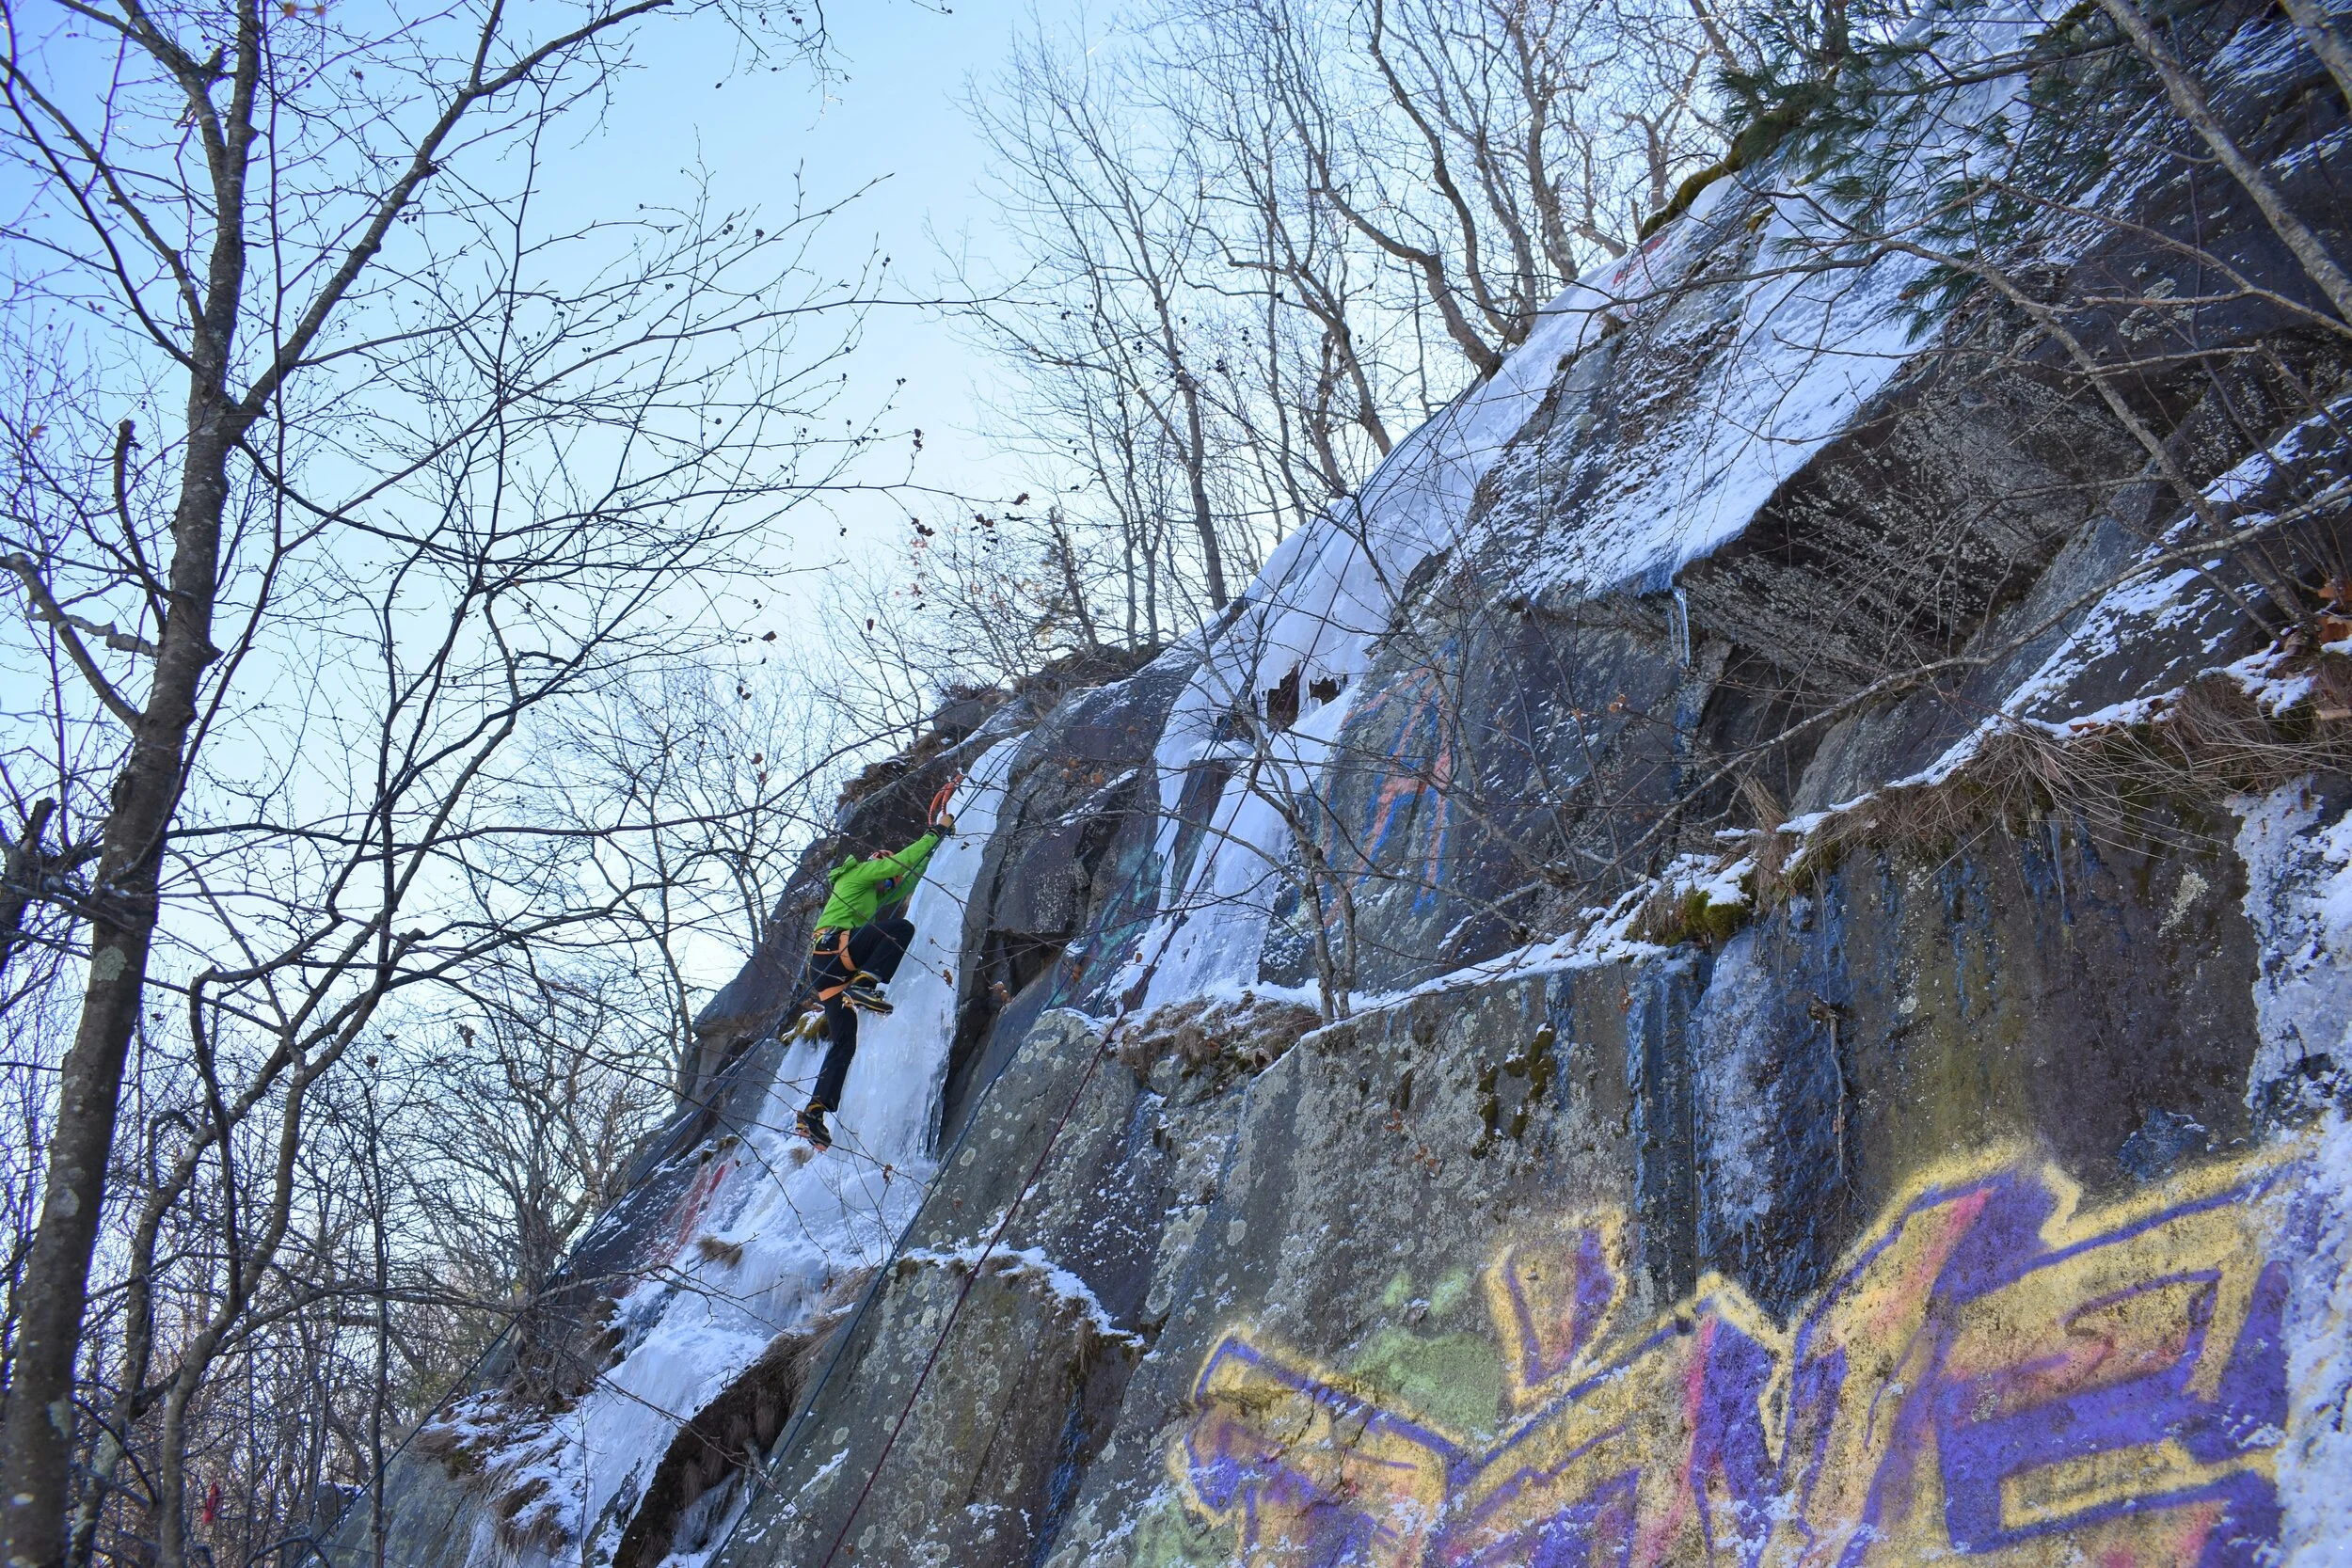
On our trip, we found the unnamed gully to be a wonderful river of ice. Although the ice was thin, the climbing was easy (Grade I-II) and super-fun. Psyched to be climbing ice on the last day of April, we ultimately followed the gully for two pitches, as it wove its way alongside the left side of Buttress No. 1.
Just after the gully pinched and dog-legged left, we popped out at a platform on our right, built an anchor on a big block, and transitioned from ice to rock.
From here we climbed a full pitch of rock along the left side of Buttress No. 1. The rock is quite fun, with a few thoughtful moves. Scott led this pitch and found lots of opportunities for good gear. You top out right on top of Buttress No. 1 at a large block that can conveniently serve as an anchor.
The Descent
One way to descend from Summer Arete is to hike down the Boott Spur Trail, branching off towards Hermit Lake on the Boott Spur Link Trail. While perhaps the most straightforward descent, this includes a substantial section above treeline, so pay close attention to the weather conditions. And in low snow conditions, the descent is quite rocky.
When the conditions warrant, a great alternative is to descend one of the nearby gullies on skis. That would have been the perfect way to descend on our trip if we’d packed skis. Next time we definitely will!
The Kit
Your kit for the Boott Spur Buttresses will vary considerably depending on your objective.
For the snow climbing, you’ll want a minimum of mountaineering boots, crampons, an ice axe, and an avalanche kit (beacon, shovel, and probe). On the lower sections, a collapsible trekking pole is nice, while some may prefer a second tool if they stay in the snow gullies for the steeper upper sections.
For any of the mixed section, a standard alpine rack is great. We carried 4-5 ice screws, some cams, some nuts, and several alpine draws. We didn’t ultimately use the screws because the ice was too thin, but, as mentioned, Scott found a lot of gear on the rock pitch, which he was pretty psyched to lead.
When To Go
Best done between late March and mid-May when the snow is more consolidated and the days are getting longer, these less-frequented routes offer enjoyable adventures on stellar alpine terrain. Before you go, be sure to check the Mount Washington Observatory’s Higher Summits Forecast and the Mountain Washington Avalanche Center’s daily avalanche advisory.
Words and photo by Doug Martland